How to Make a Tall Skinny Carrot Cookie Cutter (3D Printed at Home)
Easter designs don’t always need to be complicated to be effective. In fact, some of the most versatile cookie cutters I use are simple shapes that can be decorated a dozen different ways. Today’s project is exactly that: a tall, skinny carrot cookie cutter that you can 3D print at home (available for free download at the bottom of this post!).
The tall skinny style of cutter has been trending for years, and for good reason. Tall skinny cutters work beautifully alone with a cute tag or as part of a set of coordinating tall skinny cookies. Plus, when you’re designing and 3D printing them yourself, they’re easy to scale up or down depending on how you plan to sell them. (Follow along on YouTube.)
Designing the Carrot in Canva
I begin, as always, with a Facebook post template in Canva. It gives me a quick blank canvas and consistent sizing.
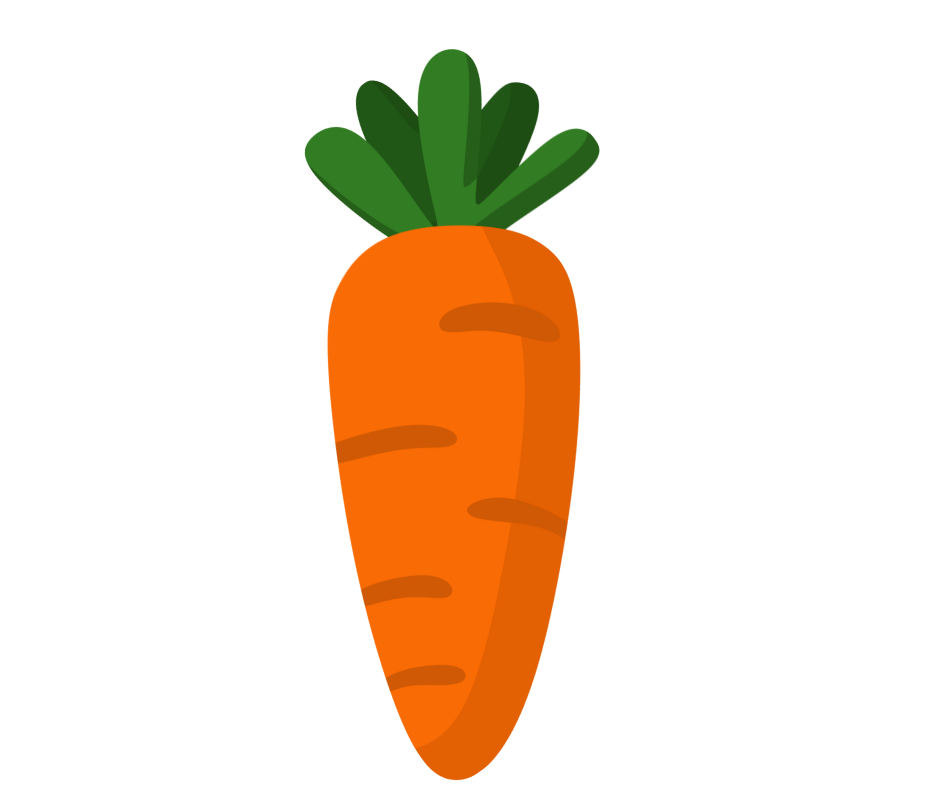
From there I search Canva Elements for “carrot” and find lots of options, both free and paid. For this design, I choose a Canva Pro (paid) graphic because I really liked the shape of the carrot’s leaves.
The carrot graphic is angled, so before downloading I rotate it to be straight up and down. This makes it much easier to visualize the final cookie cutter shape, which helps me when sizing the STL.
Once I’m happy with it, I name the design, save it, and download the image.
Uploading the Image into Cookie Design Lab
Next, I upload the image into Cookie Design Lab, which converts images into STL files for 3D printing at home. The first thing I notice is that my settings from my previous project are still active. Oops! The cutter size is set to a width of 3.25 inches, which results in an almost 8-inch-tall carrot. Definitely not what we’re going for!
To fix that I switch overall sizing to be determined by height and Cookie Design Lab auto-adjusts the width to stay proportional. This leaves me a cutter that is 3.25 inches tall and 1.33 inches wide. This is a good starting point, but I wait to finalize sizing until after editing the outline.
Editing the Cutter Outline for a Better Cookie Shape
Now I move into Outline Editing, which is one of the biggest advantages of Cookie Design Lab compared to other cookie cutter design software.
My first step is to increase the number of points to smooth the outline. I settle around 110 points, which allows the cutter edge to flow nicely into the crevices of the carrot leaves. Those subtle bumps add not only visual interest to a simple shape but also natural guides when decorating. Once the outline looks good, I revisit sizing.
Final Size and the Tall Skinny Cutter Trend
For this carrot, I land on 4 inches tall and 1.67 inches wide. This leans right into the tall skinny cookie cutter trend, which customers consistently love. It also makes this cutter extremely versatile.
From a sales perspective:
-
At 4 inches, it’s perfect as part of a multiple cookie Easter set (3-12 cookies), or as a single, personalized cookie for a basket, place setting, or dessert spread.
-
At 3.25 inches, it works beautifully in a 2 or 3 cookie set (but probably wouldn’t fit names as well).
-
Scaled down, it’s a great mini cutter for a 3 to 4 cookie sleeve.
Carrots are also one of those basic Easter shapes that pair well with eggs, bunnies, or chicks.
Finishing Touches: Handle, Name, and Blade Settings
With the shape and size finalized, I add my usual finishing details, including:
-
Rounded handle for comfort and stability,
-
Cutter name, automatically placed on the straightest edge, and
-
Blade sizing, choosing between a sturdier 0.250" transition or a thinner 0.125" double cutting edge.
These settings directly affect print time, durability, and cutter feel, which is why being able to customize every part of your cookie cutter is so important when you 3D print at home.
Once everything looks good I just save the cutter to my CDL library, download the STL file, and it’s ready to slice and 3D print. This entire process—from Canva to STL—took me just 3 minutes, and I can print the cutter the same day instead of waiting days or weeks for a custom order to arrive.
If you’re experimenting with making your own 3D printed cookie cutters, this carrot is a perfect Easter staple and a great example of how quickly you can turn an image into a clean, professional STL using Cookie Design Lab.
Welcome to the Cookie Design Lab blog! Here we discuss everything related to STL creation and 3D printing at home while also sharing business ideas and insights. Take a look at our posts, check out our YouTube channel, and be sure to email us at [email protected] to get free access to CDL for one week! Looking for more Easter designs? Check out our egg and bunny posts (links).