For today’s Easter design, I’m keeping things simple and versatile with a basic bunny cutter that can be decorated multiple ways. This is the kind of cutter I love having in my library because it works for:
-
Easter baskets,
-
Place setting cookies,
-
Personalized name cookies, and
-
Patterned or printed designs.
Best of all, this entire cutter is made using free Canva elements and Cookie Design Lab, and you can download the STL and the coordinating image for free.

Starting in Canva
As usual, I start with a Facebook post template in Canva. It’s my go-to blank canvas and keeps things consistent.
Before recording the YouTube video (link), I did a little searching so things would move quickly but there were plenty of options. Here’s exactly how to do it:
-
Go to Elements,
-
Search for “bunny,”
-
Scroll all the way to the last filter, Price, and
-
Select Free.
This ensures you only see free graphics and avoid anything that requires Canva Pro. (I personally use Canva Pro constantly, so it makes sense for me but you absolutely don’t need it for this project.)
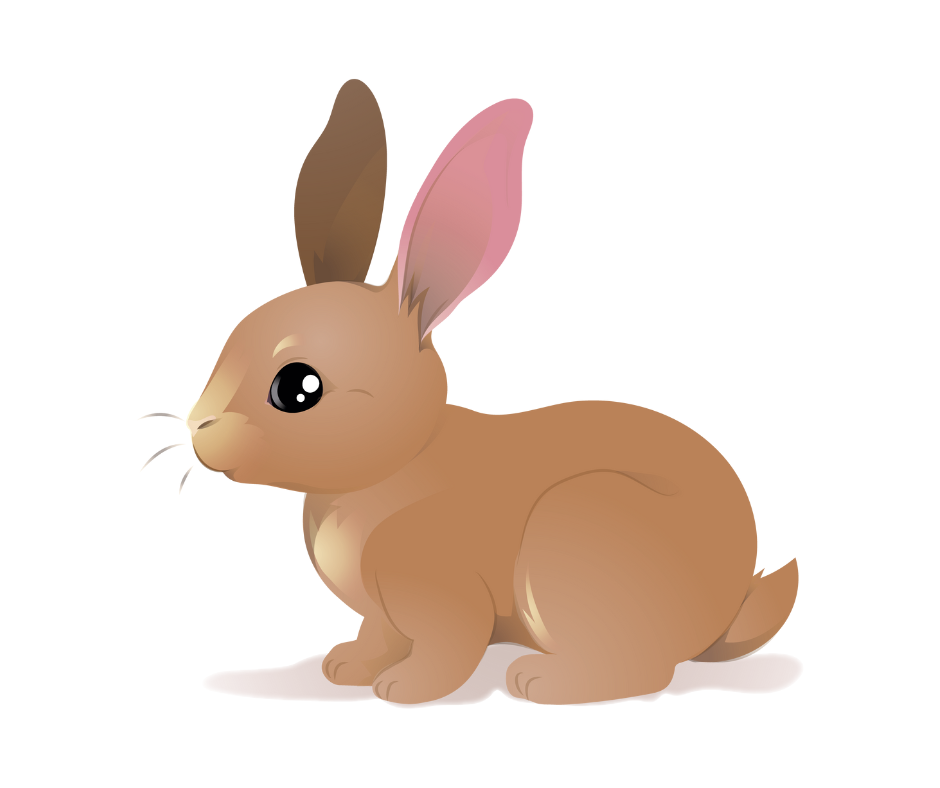
For this design, I’m looking for a basic bunny silhouette that I can eventually choose to pipe a single color, decorate with details, or add a name to. Once I find one I like, I add it to my project, name the design, and download it.
Uploading to Cookie Design Lab (and Cleaning It Up)
When I upload the bunny into Cookie Design Lab, CDL picks up on two things I don’t want. Specifically, the shading under the bunny, and his little whiskers. Background removal is a paid Canva feature, but it’s included in Cookie Design Lab and I can download a coordinating, edited image, so I handle everything right here.
I switch to the Background Cleanup tab and click Remove Background, which removes the shading under the bunny, but leaves the whiskers. So then, I adjust the Color Distance Threshold, which starts at the default of 20, and slowly it until the whiskers disappear (this happens at 42).
Now I have a clean design to create my STL plus a coordinating image to print without going back to Canva.
Outline Editing: Thinking Like a Cookie Decorator
Next, I move to Outline Editing. My first step is always to increase the number of points to smooth the outline. Then I take a critical look at what actually makes sense for a cookie cutter and find two problems. First, the area between the ears is very tight and doesn’t need a cutting edge and second, the edge between the front and back paws is also unnecessary
CDL picked these up automatically, but I simply select those points and delete them. The goal isn’t to match the image perfectly but to create a cutter that’s easy to use and decorate.
Sizing, Cutter Name, and Visual Feedback
Over on the right side of the screen, I move into Overall Size. The cutter name box is already checked from my last project. The cutter name comes from what I named the file in Canva, but if I want to change it, I can edit it in the Cutter Name field above the Outline Editing tab. CDL automatically places the name on the straightest edge, and I can adjust the size using the slider.
One thing I love about CDL is the visual feedback. It offers both a live 3D rendering and a basic view of the handle (red), walls (white), and blade (red) in the upper right corner with the measurements you’ve chosen. You see all depth and sizing changes in real time which is incredibly helpful.
For this bunny, I go with an overall size of 3.25 inches wide and 3.32 inches tall.
Flip Left or Right?
In the size settings, I can decide which way the bunny faces. If I want the cutter to match the original image direction, I check Flip Left/Right. This is especially important if you’re using an edible ink printer. If I want him facing the opposite direction (to the right in this case), I leave it unchecked.
Handles, Blades, and Print Considerations
I’m almost done designing my cutter. I added a rounded handle and would usually increase handle width, but since I’m sharing this cutter for free, I leave it smaller. In Blade Sizing, I need to decide if I want a bulkier cutting edge or a double cutting edge. 0.125" transition gets me a double cutting edge while 0.250" transition provides a bulkier, slowly transitioned edge. The Prusa slicer (which I use) handles the 0.125” edge beautifully. Other slicers may require a setting like “detect thin walls”, so keep that in mind when choosing.
How I’d Use This Bunny in an Easter Presale
When it comes time to think about how to use this bunny in my Easter presale, I need to think about my customer (I discussed this some in the last Easter post - insert link) and my other options. This is where knowing your customer really matters. Below are a few ways I’d decorate this bunny.
Option 1: Eddie Printed
-
Pipe the bunny in white,
-
Use Get Image in CDL which has the shadowing under the bunny removed as well as the whiskers,
-
Use Get Outline to print for perfect alignment on my tray, and
-
Print the image using Eddie.
Option 2: Hand-Piped, Single Color
-
White bunny with a pastel name,
-
Add a small bow for extra detail,
-
Great for place settings or baskets.
Or reverse it:
-
Bunny in blue, purple, green, or pink,
-
Name piped in white.
I’d likely stick to colors I’m already using in my Easter presale and either:
-
Choose one neutral color (lavender, green, light blue),
-
Or let customers choose, with a small upcharge if needed.
Option 3: Patterned Bunny
If I don’t want to make this a personalized option, I’ve got plenty of ways to add a cute pattern. I could do:
-
Wet-on-wet florals or plaid,
-
Airbrush with a stencil, or
-
Print a pattern with Eddie.
If I go with a patterned bunny, I’d probably add a bow to break it up and add dimension.
Final Thoughts
This bunny cutter is a perfect example of a low-effort, high-flexibility design:
-
Fast to create,
-
Easy to decorate, and
-
Adaptable to different price points and skill levels.
Whether you’re printing once or building a library for years to come, simple cutters like this are the backbone of a strong holiday presale. In fact, these are the designs I come back to again and again.
Welcome to the Lab blog! New to making STL files to 3D print at home? Cookie Design Lab was created by a cookier and her techy husband to easily turn any image, word, or picture into an STL file you can print at home. Give us a try for free by emailing us at [email protected]. Want more free files and inspiration? Check out our other blog posts and our YouTube channel.